Faux Finishes in Home Painting

Faux Finishes in Home Painting
When it comes to home painting, there's an artistic world beyond plain walls and standard colors that can truly transform your living spaces. One of the most captivating methods to add depth, character, and charm to your interiors is by incorporating faux finishes. Faux finishes are decorative painting techniques that mimic the appearance of materials like wood, marble, stone, and more. In this guide, we'll delve into the enchanting realm of faux finishes, exploring various techniques, their applications, and providing step-by-step instructions to help you achieve stunning results.
1. What Are Faux Finishes?
Defining Faux Finishes
Faux finishes, often referred to as faux painting or faux painting techniques, encompass a wide range of decorative painting methods. These techniques aim to recreate the appearance of various natural materials and textures. Faux is a French word that translates to "false" or "fake," and that's precisely what faux finishes achieve – they imitate the look of materials such as wood, marble, stone, or metal. Faux finishes are a fantastic way to introduce depth, dimension, and a touch of artistry to your walls, furniture, and other surfaces.
A Brief History
The origins of faux finishes can be traced back to ancient times when artisans first attempted to replicate the appearance of luxurious materials. These techniques gained popularity during the Renaissance, with Italian artists using faux finishes to embellish palaces and churches. Over the centuries, faux finishes have evolved, with new methods and materials continually being introduced.
2. Benefits of Faux Finishes
Versatility and Personalization
Faux finishes offer an incredible level of versatility and personalization. They allow you to create custom designs, match the aesthetics of a room, or introduce a unique focal point. Whether you prefer the elegance of faux marble or the warmth of faux wood, you can customize your finishes to reflect your personal style.
Cost-Effective Elegance
Achieving the luxurious look of materials like marble, wood, or stone can be expensive. Faux finishes offer a cost-effective alternative, allowing you to enjoy the aesthetic appeal of these materials without the hefty price tag. You can transform your home with elegance on a budget.
Concealing Imperfections
Faux finishes are excellent for concealing imperfections in your walls or surfaces. They can hide minor cracks, dents, or uneven textures, creating a flawless appearance that enhances the overall beauty of your space.
Durability
Many faux finish techniques are durable and long-lasting. Properly applied, they can withstand the test of time and maintain their visual appeal, making them a practical choice for high-traffic areas and well-loved furniture.
3. Materials and Tools
Essential Supplies
Before you embark on your faux finishing journey, it's crucial to gather the necessary supplies. You'll need:
- Base Coat Paint: The base coat serves as the foundation for your faux finish. It's essential to choose a color that complements the desired faux effect. Water-based latex paint is a popular choice for base coats.
- Glazing Liquid: The glazing liquid is mixed with paint to create the translucent layers needed for most faux finishes. It allows for blending and manipulation of the colors.
- Tinted Paint: Tinted paint is used to create the effects of materials like wood, marble, or stone. These paints come in various shades and can be customized to achieve the desired look.
- Paintbrushes: High-quality paintbrushes are essential for applying paint and creating the fine details of your faux finish.
- Sea Sponges or Rags: Sponges or rags are handy for various techniques, such as stippling and ragging.
- Drop Cloths and Painter's Tape: Protect your working area from accidental spills or splatters with drop cloths and use painter's tape to define clean lines.
Choosing the Right Paint
Selecting the right type of paint is crucial for achieving successful faux finishes. Water-based latex paints are suitable for base coats, as they dry quickly and allow for easy blending. For tinted paint, you may need to use different types, such as acrylic, depending on the desired effect. Experimentation and testing are essential to ensure you have the right combination of paints for your chosen faux finish.
Brushes and Tools
High-quality brushes and tools are essential for achieving precision and finesse in your faux finish. The choice of brushes may vary depending on the technique you're using. Some common options include:
- Natural Bristle Brushes: These brushes are excellent for techniques like wood graining.
- Synthetic Brushes: Synthetic brushes work well for smoother finishes and intricate details.
- Sea Sponges: Sea sponges create textured effects and are often used in techniques like color washing.
- Rags: Rags can be used for techniques like ragging, allowing you to create unique patterns and textures.
4. Preparation and Priming
Proper preparation is the key to a successful faux finish. The condition of the surface you're working on is crucial. Follow these steps to ensure your surface is ready:
- Clean the Surface: Remove dust, dirt, and any contaminants from the surface using a damp cloth or sponge.
- Repair Imperfections: Patch any holes, cracks, or imperfections in the surface with spackling compound. Allow it to dry, and then sand the patched areas until smooth.
- Sand Smooth Surfaces: For smooth surfaces, sand lightly with fine-grit sandpaper to create a slightly rough texture that allows the paint to adhere better.
- Prime the Surface: Applying a suitable primer is essential. Primer improves paint adhesion and provides an even base for your faux finish. Choose a primer that matches your base coat and the technique you're using.
5. Common Faux Finish Techniques
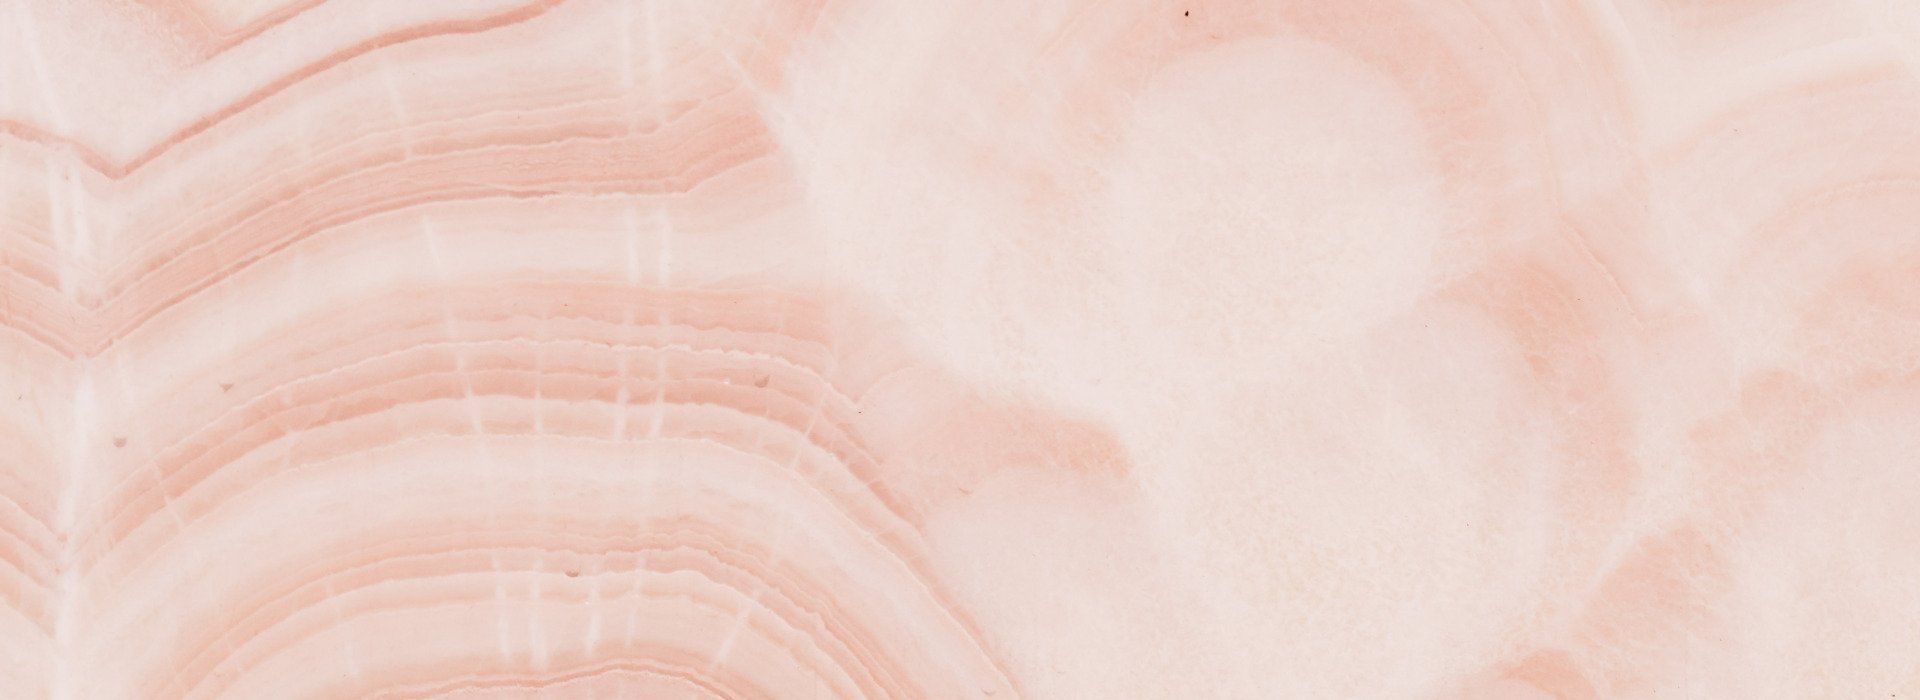
Faux Marble
Faux marble finishes replicate the elegance and beauty of real marble. They are ideal for adding a touch of luxury to your home. To achieve a faux marble finish:
- Prepare the Base Coat: Apply a base coat in a color similar to the background of the marble you wish to imitate. Allow it to dry completely.
- Marbling Paint: Mix a marbling paint that matches the colors and veining of your chosen marble. Apply it with a natural bristle brush in a random pattern. Use a sea sponge or rag to blend the colors.
- Veining: Create veining with a fine brush or feather by dragging it through the marbling paint while it's still wet. You can soften the veining by lightly blending it with a dry brush.
- Seal the Finish: Once the faux marble is dry, seal it with a clear topcoat or varnish to protect the finish.
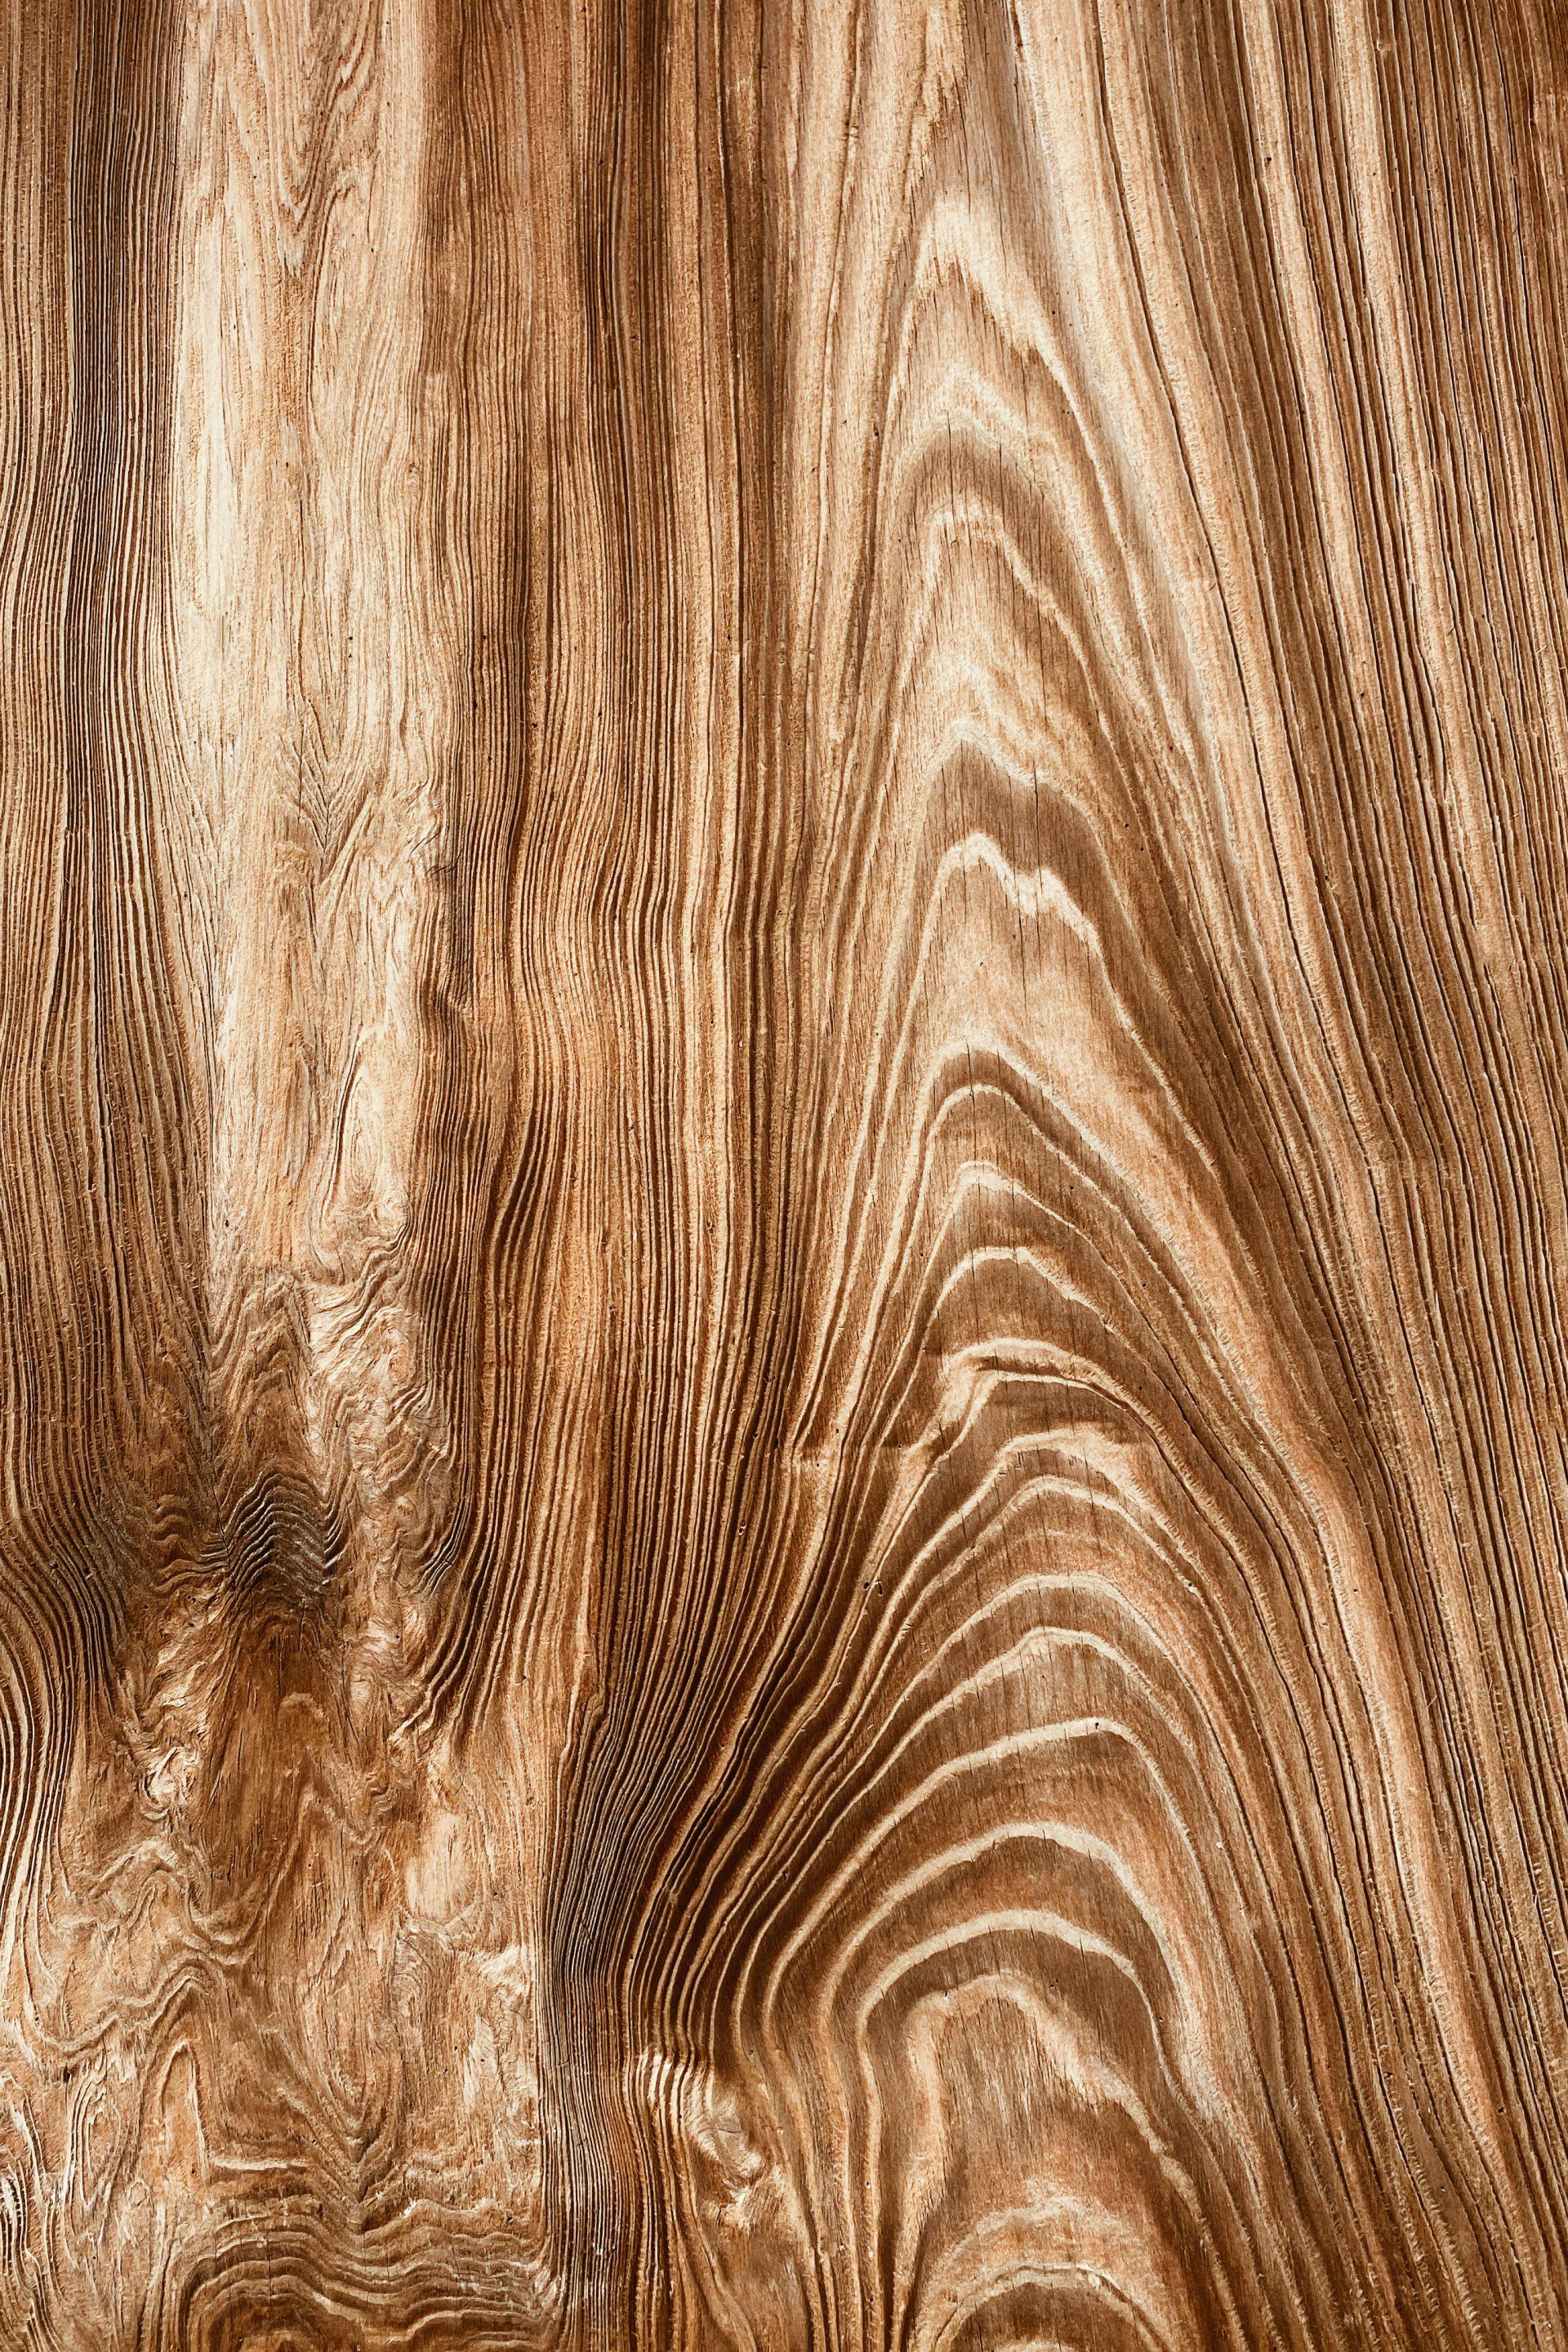
Faux Wood
Faux wood finishes mimic the rich appearance of natural wood. They are perfect for furniture, cabinetry, or adding warmth to your walls. To create a faux wood finish:
- Base Coat: Apply a base coat in the color of the wood you want to imitate.
- Tinted Glaze: Mix a tinted glaze to match the wood grain you desire. Using a graining tool or a natural bristle brush, create the wood grain pattern. You can add knots and imperfections for realism.
- Dry Brushing: After the glaze dries, use a dry brush to soften and blend the grain, creating a realistic wood appearance.
- Seal the Finish: Seal the faux wood finish with a clear topcoat to protect it and enhance its appearance.
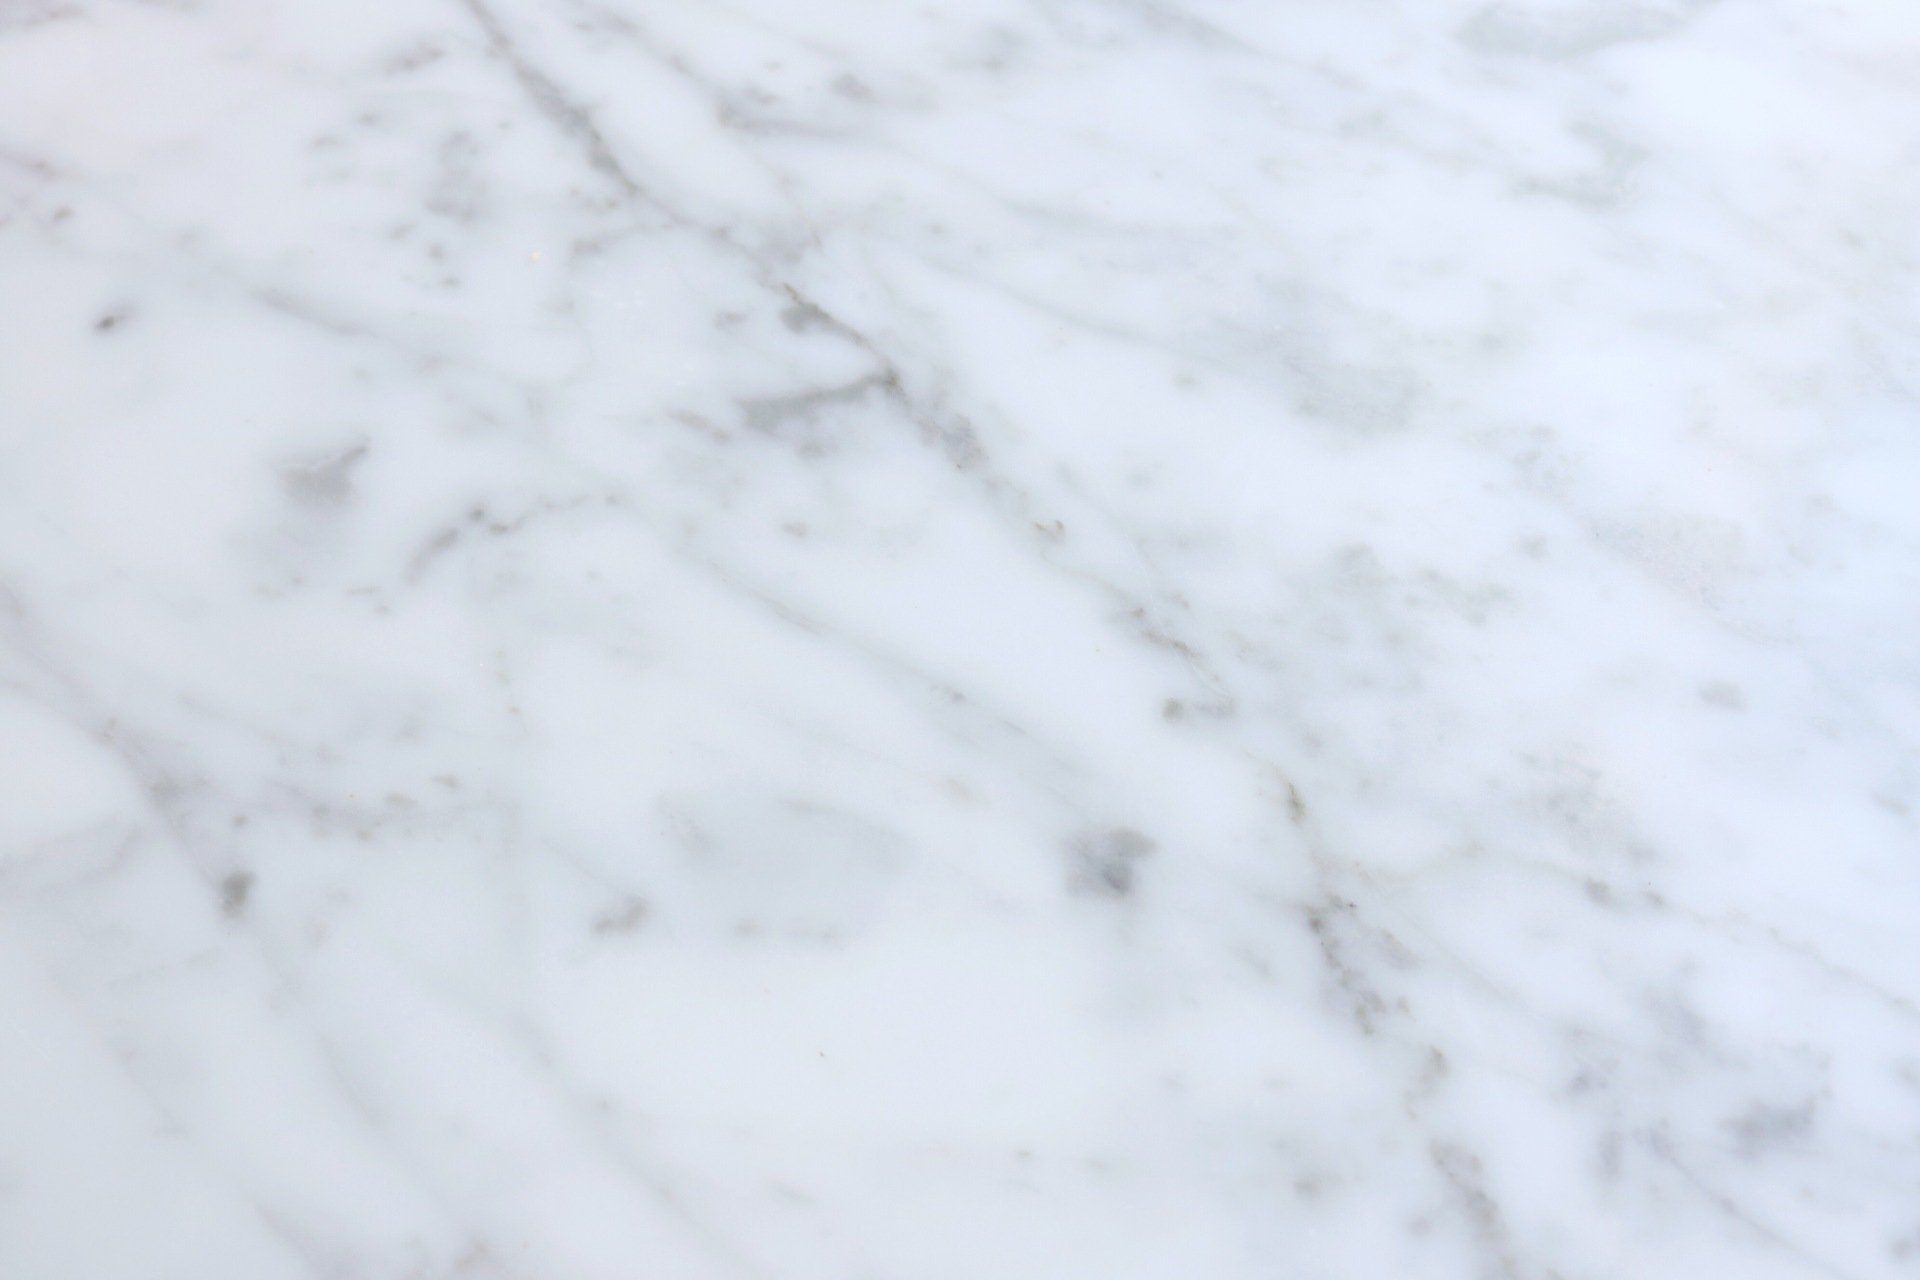
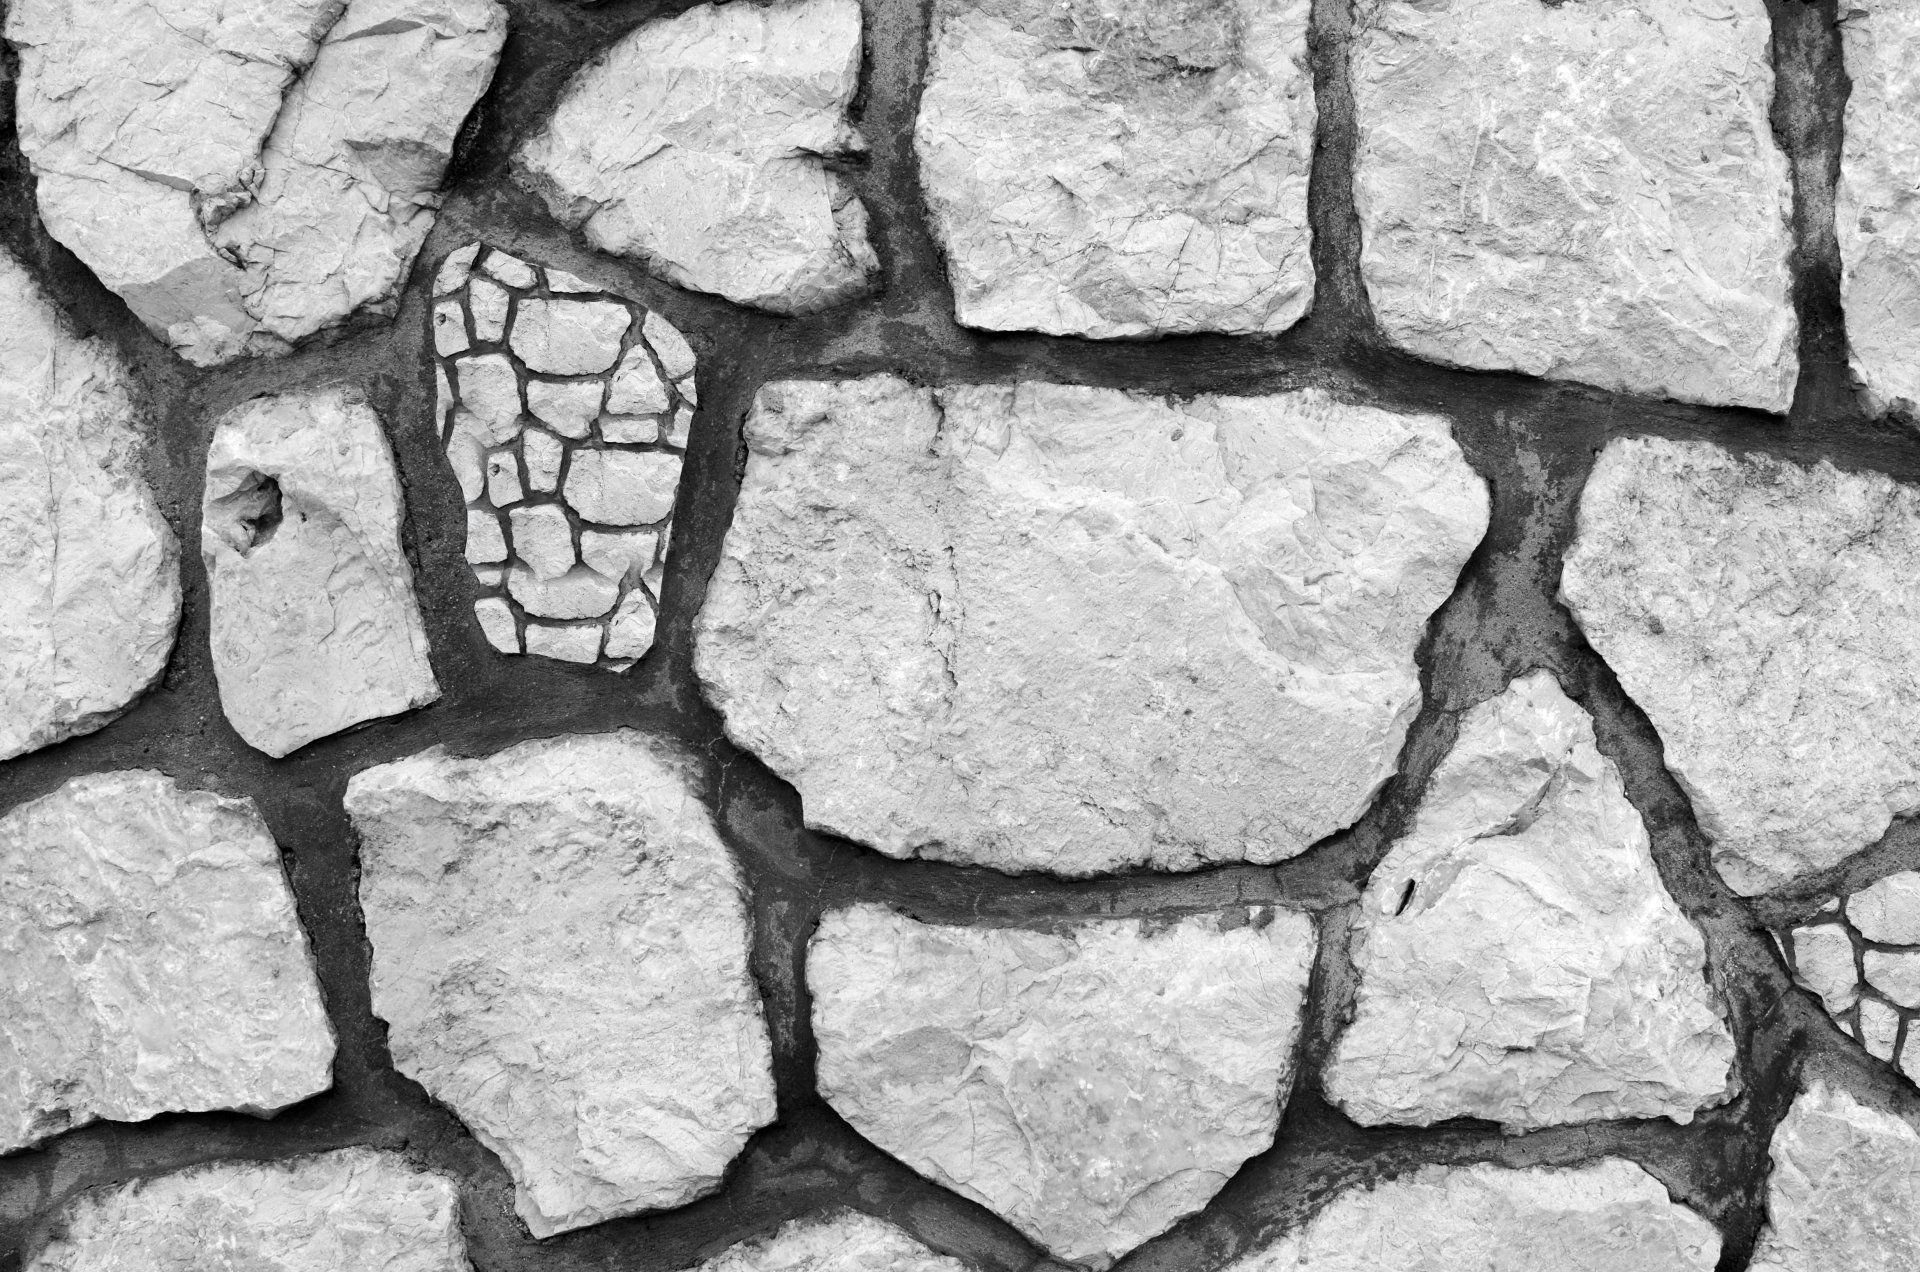
Faux Stone
Faux stone finishes recreate the texture and appearance of natural stone. They are suitable for accent walls and fireplaces. To achieve a faux stone finish:
- Base Coat: Apply a base coat in the background color of the stone you want to imitate.
- Stone Texture: Use a sea sponge or a textured roller to apply a mixture of tinted glaze in various stone-like colors. Create texture and depth by dabbing and rolling the glaze.
- Highlighting: Add highlights with a lighter glaze, and lowlights with a darker glaze, using a natural bristle brush. This adds dimension to the stone.
- Seal the Finish: Once the faux stone finish is dry, seal it with a clear topcoat to protect it and enhance its appearance.
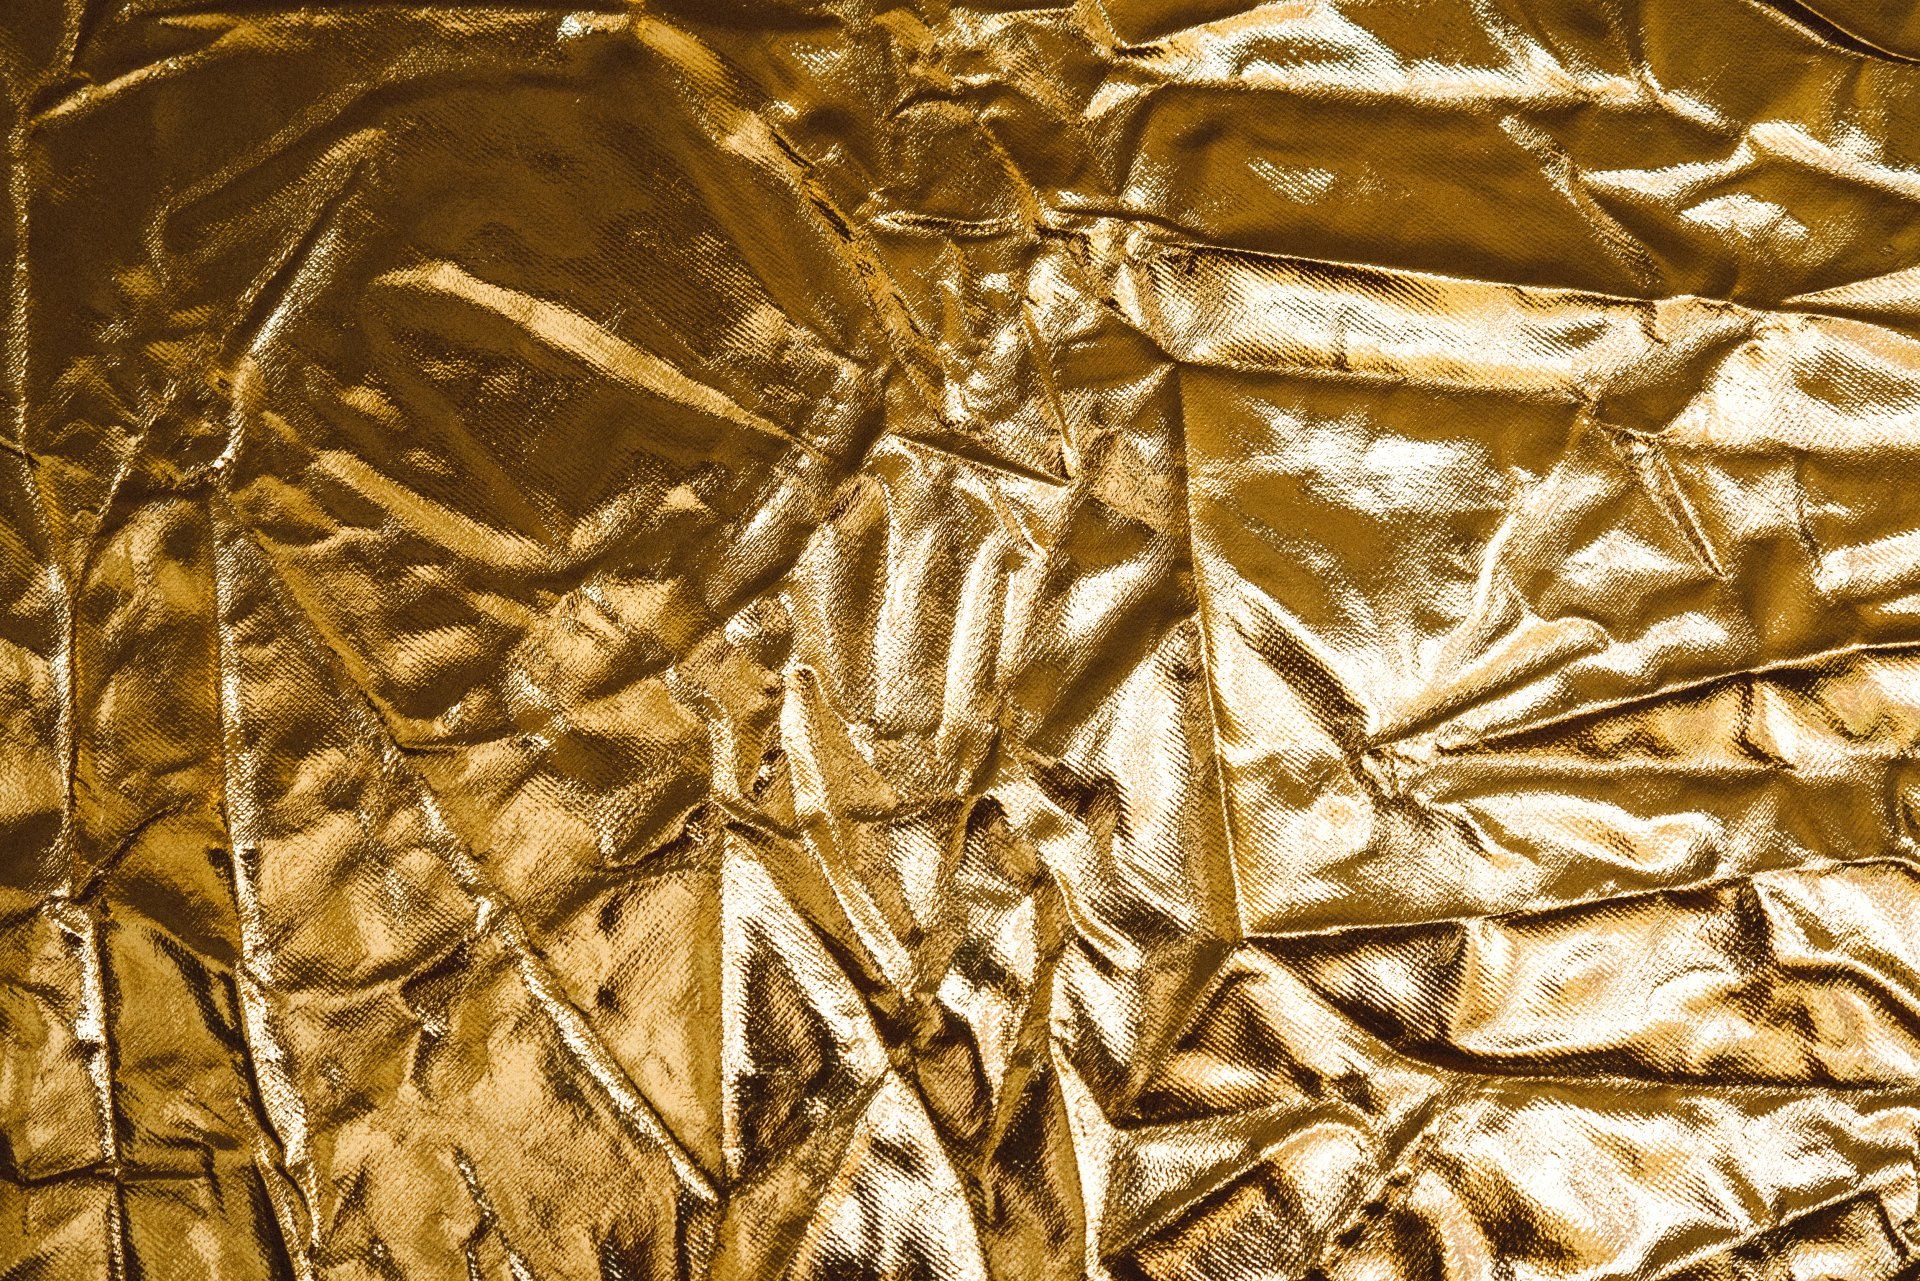
Faux Metallics
Faux metallic finishes provide the appearance of aged or shimmering metals like copper, bronze, or gold. They are excellent for creating a touch of glamour. To create a faux metallic finish:
- Base Coat: Apply a base coat in a color that complements the metallic effect you want to achieve.
- Metallic Glaze: Mix a metallic glaze that matches the desired metallic finish. Apply it evenly with a brush or rag.
- Patina: Create a patina effect by applying a contrasting glaze unevenly over the metallic glaze. You can use a sea sponge or rag for this step.
- Seal the Finish: Seal the faux metallic finish with a clear topcoat to protect and preserve the metallic effect.
Faux Textures
Faux texture finishes add depth and dimension to your walls, creating visual interest and tactile appeal. Textured finishes are perfect for adding character and warmth to a room. To create a faux texture finish:
- Base Coat: Apply a base coat in the background color that complements the overall room design.
- Texture Medium: Mix a texture medium with the base coat paint. This creates a thick, gritty consistency that can be applied using a trowel or a textured roller.
- Pattern and Texture: Apply the textured mixture to the wall, using tools to create patterns or simply for texture. You can use a trowel, brush, or sponge to achieve different effects.
- Seal the Finish: Seal the textured finish with a clear topcoat to protect it and enhance its appearance.
6. Step-by-Step Guide to Faux Finishing
Choosing the Base Coat
Select a base coat color that serves as the foundation for your faux finish. The base coat should complement the overall design of the room and act as a backdrop for the faux effect. Ensure the base coat is completely dry before proceeding to the next step.
Layering and Blending
The heart of faux finishes lies in layering and blending. Whether you're creating marble veining, wood grain, or stone texture, layering is key to achieving a realistic look. Follow these steps for layering and blending:
- Apply the Tinted Glaze: Once your base coat is dry, apply a tinted glaze or paint mixture over it. This is where the magic happens. Work in small sections to prevent the glaze from drying too quickly.
- Manipulate the Glaze: Use the appropriate tool, such as a brush, sea sponge, or rag, to manipulate the glaze. Create patterns, texture, and depth according to your chosen faux effect. The glaze should be wet during this process, allowing you to blend and soften the colors.
- Experiment and Practice: Faux finishing often involves trial and error. Experiment with different tools, techniques, and colors. Practice on spare boards or paper to perfect your skills before tackling your project.
Adding Details
Once you've achieved the desired base effect, it's time to add details that enhance realism. For example, in faux wood finishes, you might create knots and imperfections. In faux marble, you'll add veining. Use fine brushes, feathers, or other tools to add these intricate details.
Protecting Your Finish
After completing your faux finish, it's essential to protect it. Seal the finish with a clear topcoat or varnish. This not only preserves the finish but also enhances its appearance and durability.
7. Tips and Tricks
Maintaining Consistency
Consistency is key when creating a faux finish. Whether it's matching the colors for veining in marble or ensuring even grain in faux wood, maintaining consistency throughout the process is crucial for a realistic result.
Experimenting with Colors
Don't be afraid to experiment with colors. Mix various shades and hues to achieve the exact effect you desire. Color blending and layering can add depth and richness to your faux finish.
The Power of Patience
Faux finishing can be a time-consuming process, especially if you're tackling a large area. Patience is your greatest ally. Take your time, work in small sections, and allow glazes to dry and develop before proceeding.
8. Applications and Ideas
Faux finishes can be applied in various areas of your home, lending a unique touch to each space.
Faux Finishes for Walls
Adding faux finishes to your walls can transform the entire ambiance of a room. Consider creating an accent wall with a stunning faux texture or introducing elegance with faux marble wainscoting.
Faux Finish Furniture
Revive tired or outdated furniture with faux finishes. A faux wood grain can breathe new life into a plain table, or a metallic finish can make a dresser the focal point of a room.
Faux Finish Ceilings
Don't forget to look up. Faux finish ceilings can add drama to a space, making it a conversation starter. Consider a subtle metallic finish for a touch of shimmer or a faux sky mural for a dreamy effect.
Faux Finish Accents
Enhance the details of your home with faux finish accents. Faux stone or metallic finishes on trim, moldings, or fireplace surrounds can create a stunning contrast and focal point.
9. Real-life Inspirations
To ignite your creativity, explore real-life before-and-after transformations. Many DIY enthusiasts and professionals share their faux finishing projects online. These transformations can provide inspiration and ideas for your own endeavors.
10. Common Mistakes and How to Avoid Them
Faux finishing is an art, and like any art, it requires practice. However, by being aware of common mistakes, you can avoid potential pitfalls:
Rushing the Process
Faux finishing requires patience. Rushing through the process can lead to uneven colors, smudged details, and unsatisfactory results. Take your time and enjoy the creative journey.
Ignoring Surface Prep
Surface preparation is the foundation of a successful faux finish. Skipping steps like cleaning, patching, or priming can result in poor adhesion and an uneven surface, leading to disappointing outcomes.
Overcomplicating Design
While faux finishes offer a world of possibilities, it's easy to overcomplicate your design. Remember that simplicity can be striking. Don't overcrowd your finish with excessive details or colors.
11. DIY vs Professional Assistance
Deciding whether to embark on a DIY faux finishing project or seek professional assistance depends on the scope of your project, your skill level, and your confidence. While many faux finishes are achievable by DIY enthusiasts, some intricate techniques may require the expertise of a professional. However, not all painters are well-versed in faux finishes so inquire with more than one painting company before deciding who to work with. Consider the following factors when making your decision:
When to DIY
- Small-scale projects, such as furniture or accent walls
- Basic faux finish techniques like color washing or ragging
- A desire to explore your creative side and learn through experimentation
When to Hire a Professional
- Large-scale projects or entire room finishes
- Complex faux finish techniques like faux marble or intricate wood graining
- A preference for guaranteed results and professional craftsmanship
If you are in need of a painting profession in Kelowna, BC don't hesitate to
contact us for your faux finish painting needs.
12. Conclusion
Faux finishes are a captivating way to elevate your home's aesthetic and introduce unique, personalized elements to your living spaces. By understanding the techniques, materials, and step-by-step process, you can confidently embark on your faux finishing journey. Whether you're aiming for the opulence of faux marble, the warmth of faux wood, or the intrigue of faux stone, remember that patience and practice are your greatest allies. Dive into the world of faux finishes, and let your creativity transform your space with confidence.